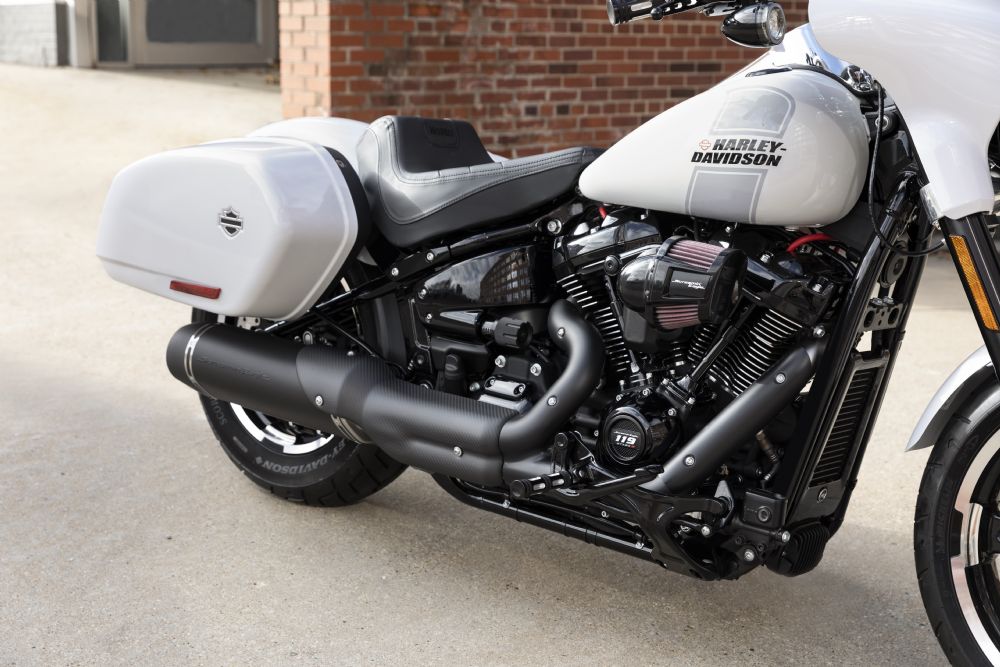
The art of washing a motorcycle. It involves a little patience, a keen eye for detail, and the right equipment. Correctly cleaning your bike not only removes any corrosive substances but allows an opportunity to help protect and inspect any structural issues that may have been overlooked. The following article will be a step by step guide of basic techniques to wash your bike and some tips and tricks that our service staff use on a day to day basis.
Step 1: First clean your workspace. This means hose down the surface area you'll be cleaning the bike from, as there's little point in doing a full clean when corrosive muck could splash right back up. As it only takes a minute, it's worth doing.

Step 2: Next gather the appropriate equipment for the job. Motorcycles will have specific cleaning products best suited for their plastics and paint. Harley Davidson® offers an extensive range of specific cleaners, conditions, and polishers. If you're new to owning a bike and need a cleaning kit, I’d recommend picking up Harley Davidson’s® Bike Wash Kit. Costing only $82.74, the kit is well valued and supplies you with all the essentials.
Harley Davidson® Bike Wash Kit contains the following:
- Sunwash Bike Soap: Specially formulated to wash your Harley Davidson®, with a compound that prevents water spotting and easy rinsing. Can be used even on hotter sunny days.
- Bug Remover Spray: Melts away bugs without damaging metal, plastic or painted surfaces.
- Wash Mitt: Premium wool-blend pile mitt for scrubbing power. Can be machine washed.
- Bug Eater Sponge: helps remove debris such as dried bugs without scratching surface finishes.
- Synthetic Chamois: extra absorbent chamois that dries without streaking. Suitable for all surface finishes.
- Microfiber Detailing Cloth: Soft and durable for detailing, cleaning or buffing. Washable, can be used wet or dry. Safe for use on all surfaces and finishes

Step 3: Roll your bike into position and ensure the engine is cool. This will prevent any thermal shock to the bike. Avoid positioning the bike under direct sunlight, as the sun absorbs the moisture faster, leaving watermarks. Also washing a bike can take time and energy, so avoid standing in the scorching sun whilst doing it.
Step 4: Waterproofing your motorcycle is crucial. I tend to plug up my exhaust, this can be done simply with a spare rag, or an exhaust plug. Both effective options. Cover any electrical spots on the bike, by simply wrapping and covering the areas with plastic bags. This is usually the dash, exposed electrical wires and air intake. It is a worthwhile process, as any unwanted liquid in the right places, can result in expensive repair bills.

Step 5: Now that the pre-cleaning tasks have been done, time to pull out the elbow grease and get it to work. Hose down the bike with a soft stream, avoiding direct pressure to any electronics and open wiring. I realise the idea of using a power washer sounds very appealing to most, however be cautious! The high pressure of the washer can damage the bike, so be gentle and mindful of where you're spraying the water. The idea of hosing the bike down aims to eliminate the loose dust and muck, whilst preparing the surface with a liquid lubricate. Less friction the better as this will help avoid grinding small particles of dirt and grime over your paintwork. A nice trick would be to simultaneously spray the bike down with a mixture of water and bike cleaner, for a heightened lubricated surface. (Sunwash Bike Soap H-D®)
Step 6: After the pre-rinse, this is where the majority of the wash is performed. Some basic tips when completing this. Always be careful with the amount of pressure you employ, as too much can cause scratches if your mitten is dirty. A great method to avoid this is the 2 bucket technique. Here is where you rinse out the sponge in a different bucket than the bucket with the soap. Hopefully, you're leaving most of the dirt and grime in the rinse bucket and you're not spreading the grime back on the bike. Begin from the top of the bike making your way down to the wheels. Gravity will help force the water down and off the bike. It’s cleaning 101, but many forget. Take your time and be patient, getting deep within all the hard to reach places.

Step 7: Drying the bike should be done rather quickly after washing the motorcycle. Water left increases and crevices over time can cause corrosion so this is an important process. A few options can come into play here. One of my favourite ways is using a leaf blower/ air blower. This technique is fast and effective. It removes all the moisture out of the hard to reach spots. It's a hands-free approach to drying and avoids any swirl marks. The recommended kit comes with a synthetic drying chamois, which is an equally acceptable option. Be gentle and patient, ensuring all moisture is removed.
Step 8: Once completed, remove any plastics from the “pre-wash” process and let the bike sit, while you clean the workspace. Ignite the engine, checking all brake lights, headlights, brakes, and dash are fully working, and let the engine run for a while. This just ensures that all the moisture is completely gone and lets you do a full rundown of the working components on the bike.

With so many techniques, tricks, and methods for cleaning your bike, use this as a guide and experiment what works for you.
For more information visit us in-store today at Harley Davidson® GOLD COAST, 30 SPENCER ROAD, NERANG. Call (07) 5655 1795 today!
Wanting to keep up with the latest news, events, reviews and specials? Subscribe to our monthly newsletter today, and be entered to win $100 to spend in-store on parts, accessories and motorclothes®.


